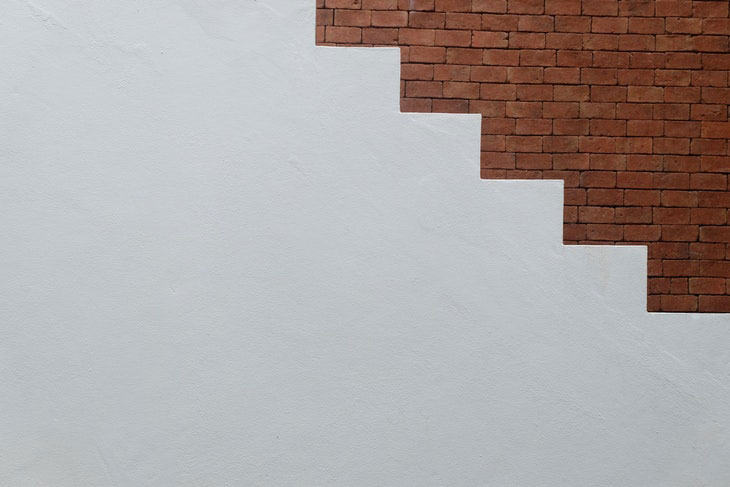
One of the most beautiful and functional types of fencing is brick fencing. It provides several benefits to homeowners and should be considered if you are thinking of building a fence around all or part of your property, and live in Melbourne, continue reading. If you are searching for brick fencing Melbourne has one of the best builders and you should give them a call.
Related: Easy Ways to Spruce Up Your Backyard
Read more tips from ARCHISCENE contributing Architect Editors:

Some of the major benefits of a brick fence are:
Strong and Sturdy: A brick fence can keep out the elements and if you live in fire or tornado areas, brick might be the best choice to protect your property.
Long Lasting: A brick fence, if constructed well, will last decades. It will outlast wood, vinyl and aluminum fencing.
Beautiful: There are so many elegant designs you can make with brick, and brick can come in or be painted nearly any color.
Cost Effective: Depending on the amount of fencing you want to build, using brick as your building material might save you money. Also if you build the brick fence yourself you can save even more money.
If you would like to build a brick fence as a DIY project, here is how you do it:
1. The Foundation
Brick needs a strong foundation and this means that you must lay concrete before you build your fence. Here are the steps.
• Measure out the length of your fence.
• Dig a trench under where the wall will be. The depth should be 50 cm if you are building a wall 2 meters or shorter. The trench should be twice as wide as the thickness of the wall.
• Next lay two concrete bars in the trench in a longitudinal direction and support them with bricks. Next, connect them every half meter with short pieces of rebar. Secure the rebar to the concrete bars with iron wire.
• Pour ready-made concrete over this to fill the trench.
• Allow 3 days for the concrete to dry fully.
2. Preparation
Once the foundation is completely dry you need to determine how many bricks you need. Plot out the height, thickness and length of your wall and then calculate how many bricks you will need based on these measurements. You should keep in mind that between every brick will be mortar that also has a height. Use a gauge line to make sure that your wall is straight. You can use a piece of wood for this. now you should purchase the amount of bricks that you need for your wall.
3. Prepare the Bricks
You will have to cut some bricks to fit your wall. To make your wall perfectly straight and looking great, you will have to cut the bricks the right size. You can get this done at the store where you purchase the bricks, or do it yourself using a chisel and a club hammer. Make sure that you wear safety glasses when you do this part of the job.
4. Building Your Wall
Use Timbre to mark where you want to build your wall oh, and lay out of the timber along the length of the wall. You should put down a bed of mortar on top of the foundation as your first layer. You should also put mortar on your first brick. You should then begin laying bricks based on the design and style you have chosen. Continue until you have laid the first layer of bricks. Use the level to make sure that the wall is level. And remember to continually use the timber as your guide to help you keep your wall straight and even.
Continue with the process that you started on the first layer of bricks. You should first lay a small bag of mortar on top of the first layer bricks, and place another small amount of mortar on the new brick. Use your trowel to whole the mortar as you ensure that the bricks are laid evenly and neatly. You should square every brick you lay as well. Continue to lay bricks at different levels alternating with a layer of mortar.
You should fill any gaps that you see with mortar and constantly make sure that your wall is even and level. Use a spirit level to accomplish this.
Repeat this process until you complete the wall to the desired height. Go back and fill in any parts of the wall that need additional water and smooth the entire wall over so that it has an even finish.
Let your wall sit for 3 days before anyone is allowed to touch it. You may find that you have to fill gaps with more mortar.
This type of DIY job is very difficult and unless you have prior experience it is best left to professionals. However if you are intent on making it a DIY job, make sure to be prepared for a rally hard job.


