


In the world of construction, renovation, and landscaping projects, precision is paramount. A laser level is a versatile tool that aids in achieving accuracy and efficiency, whether you’re hanging shelves, installing tiles, or setting up outdoor structures. While many may associate laser levels with indoor use, mastering the technique of using them outdoors in daylight can significantly expand their utility. In this comprehensive guide, we’ll walk you through the steps of utilizing a laser level effectively in outdoor settings even when the sun is shining bright.
Understanding Laser Levels and Their Applications
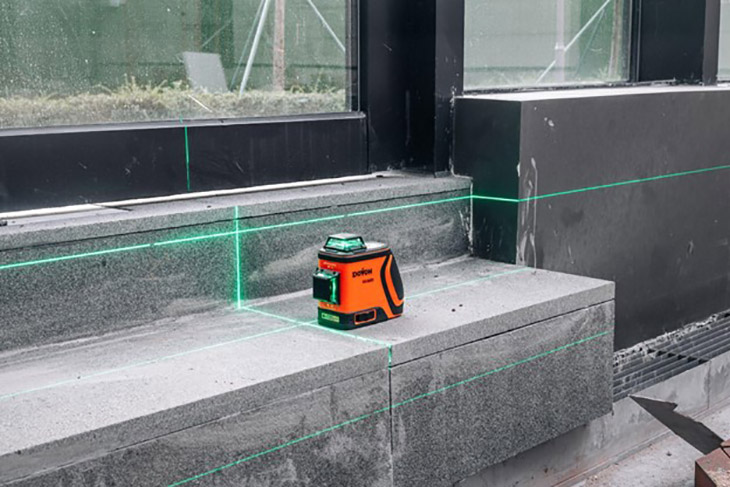
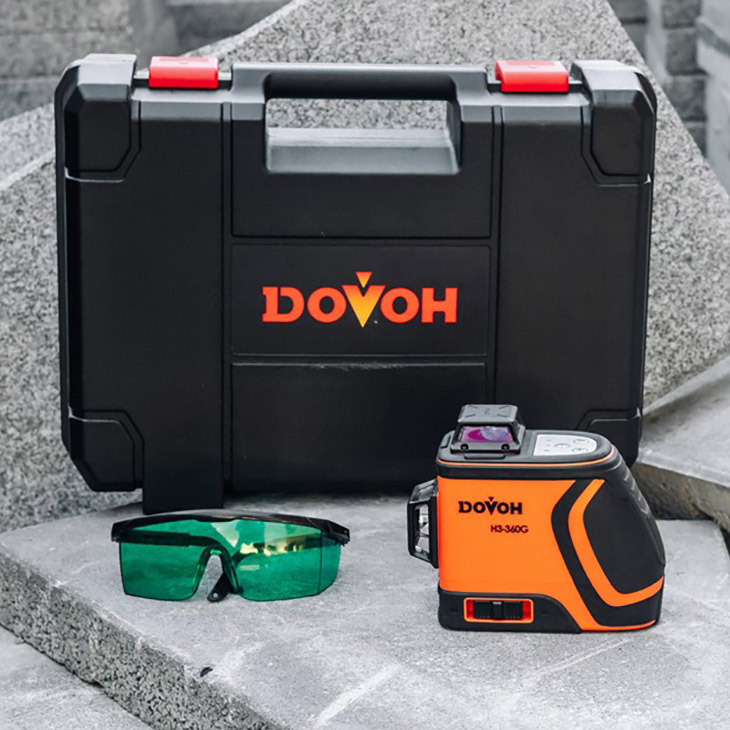
Before exploring outdoor usage, it’s essential to grasp the fundamentals of laser levels. These devices emit a laser beam to create a perfectly straight reference line, assisting in aligning and leveling tasks. There are various types of laser levels, including rotary, line, and dot lasers, each suited for specific applications. Many contractors prefer DOVOH Outdoor Laser Level, which offers a wide array of appliances namely DOVOH DR1 laser level receiver which they use to extend the working range or using in daylight.
- Rotary Laser Levels: Ideal for large outdoor projects, rotary laser levels emit a 360-degree laser beam, ensuring precise leveling across expansive areas.
- Line Laser Levels: These project a straight horizontal or vertical line, making them perfect for tasks such as hanging pictures, aligning cabinets, or laying tiles.
- Dot Laser Levels: Dot lasers produce individual laser points, useful for tasks like plumbing, electrical layout, and alignment.
Preparation: Setting the Stage for Outdoor Laser Leveling
Before heading outdoors with your laser level, take time to prepare. Proper preparation ensures smooth operation and accurate results.
- Check the Weather Forecast: Outdoor laser leveling is best done on clear, sunny days with minimal wind. Avoid using the laser level during adverse weather conditions such as rain, snow, or fog, as they can affect visibility and accuracy.
- Select the Right Laser Level: Choose a laser level appropriate for your outdoor project. Rotary laser levels are preferred for large-scale outdoor tasks, while line or dot lasers suffice for smaller projects.
- Gather Essential Accessories: Depending on your project, gather accessories such as a tripod, DOVOH DR1 laser level receiver, and mounting brackets to stabilize and enhance the functionality of your laser level.
- Calibrate Your Laser Level: Ensure your laser level is properly calibrated before use to guarantee accurate measurements and alignment.
Using a Laser Level Outdoors in Daylight: Step-by-Step Guide
Now that you’re equipped with the necessary knowledge and tools, it’s time to put your laser level to work outdoors in daylight. Follow these steps for optimal results:
Choose an Optimal Location:
- Select a flat, stable surface free from obstructions and debris.
- Position yourself strategically to ensure clear visibility of the laser line across the entire work area.
Set Up the Laser Level:
- Attach the laser level securely to a tripod or mounting bracket, ensuring stability and adjustability.
- Ensure the laser level is level itself using built-in bubble vials or electronic leveling mechanisms.
Adjust Laser Visibility:
- In daylight conditions, the laser beam may appear faint. Adjust the laser’s brightness settings or use a laser detector/receiver to enhance visibility.
Establish Reference Points:
- Determine the starting and ending points of your project and mark them clearly.
- Use a tape measure or ruler to measure and mark reference points along the desired alignment or leveling path.
Align the Laser Level:
- Position the laser level at the starting point of your project.
- Adjust the laser level’s orientation and height to align with the reference points, ensuring the laser beam projects along the intended path.
Verify Alignment and Levelness:
- Double-check the alignment and levelness of the laser beam using a bubble level or by visually inspecting its position relative to the reference points.
Proceed with Work:
- With the laser level properly aligned and leveled, commence your project, whether it involves laying bricks, installing fence posts, or grading land.
- Use the laser beam as a guide to ensure accuracy and consistency throughout the task.
Monitor and Adjust as Needed:
- Regularly check the alignment and levelness of the laser beam as you progress with your project.
- Make necessary adjustments to the laser level or project components to maintain accuracy and precision.
Finally, Mastering the use of a laser level outdoors in daylight opens up a world of possibilities for precision-driven projects. By following the steps outlined in this guide and understanding the nuances of outdoor laser leveling, you can tackle outdoor tasks with confidence and efficiency. Whether you’re constructing a patio, landscaping a garden, or erecting a structure, harnessing the power of laser precision ensures professional-grade results every time. So, gear up, step outside, and let your laser level illuminate the path to flawless outdoor projects.